Source : Internet
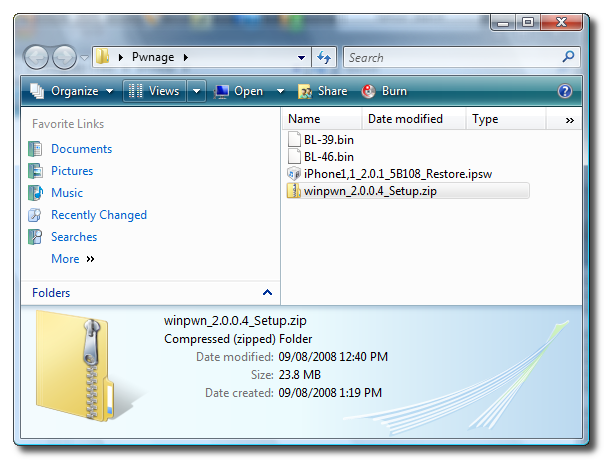
These are detailed instructions on how to unlock your iPhone 2.0 Beta Firmware using PwnageTool for Mac OS X.
Before you do this you must have access to the 2.0 Beta Firmware. Only do this if you have authorized access.
WARNING: There is no Installer.app for 2.0 Beta Firmware yet. You will not be able to install applications from Installer. SSH however has remained functional for me!
Step One
Follow the instructions to Pwn your iPhone using 1.1.4. These instructions can be found here
Make sure you install BSD Subsystem and OpenSSH from installer once you are done.
Step Two
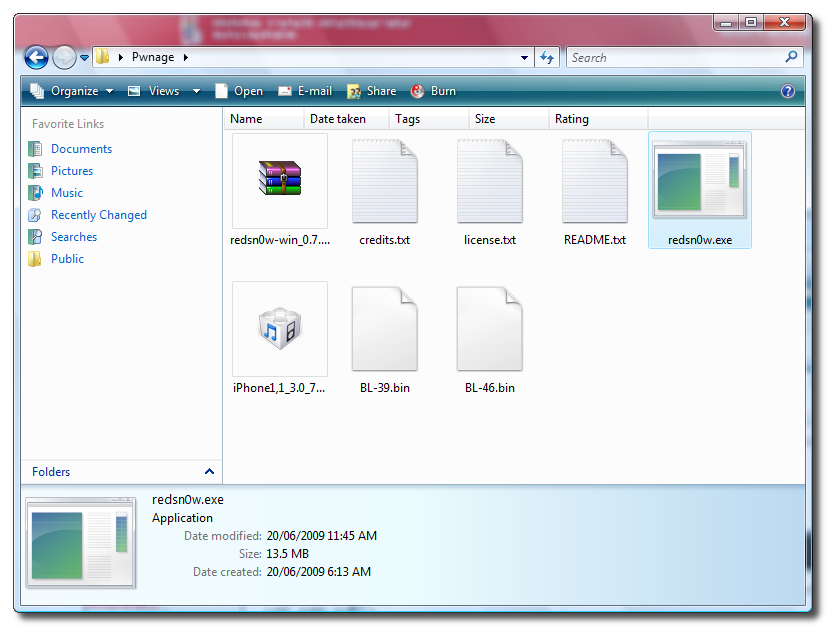
Double click PwnageTool to launch the application again from your Desktop.

Step Three
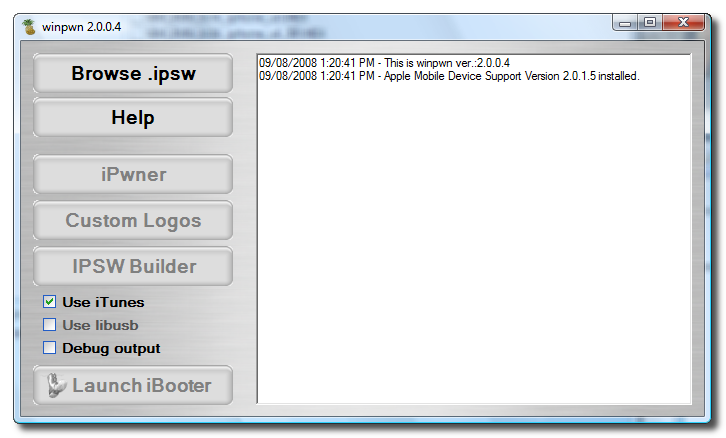
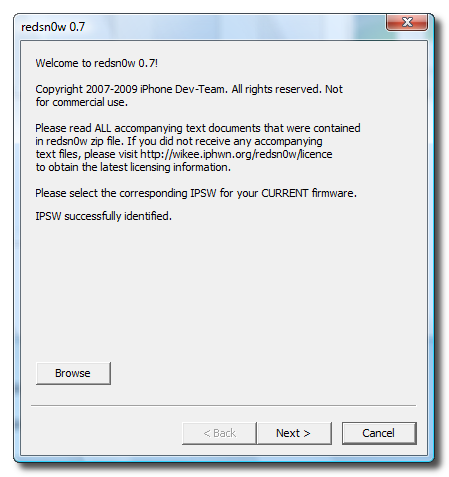
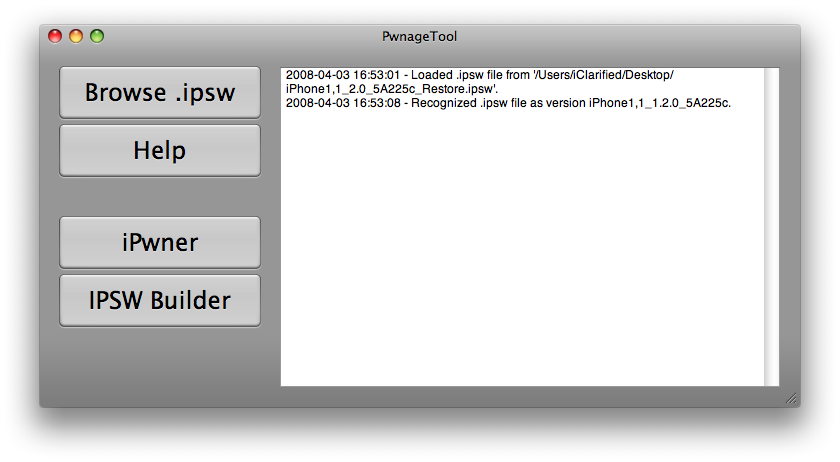
Click the Browse .ipsw button in PwnageTool.

Step Four
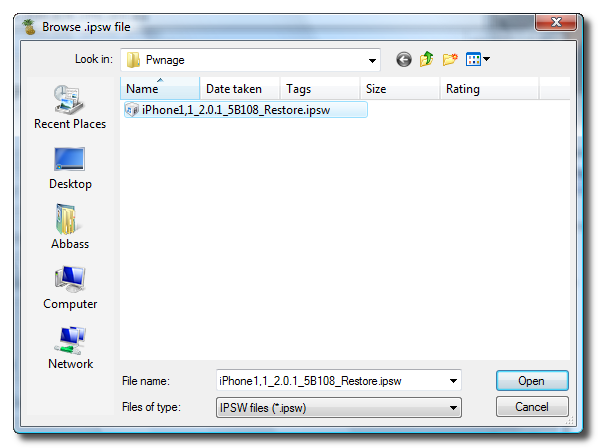
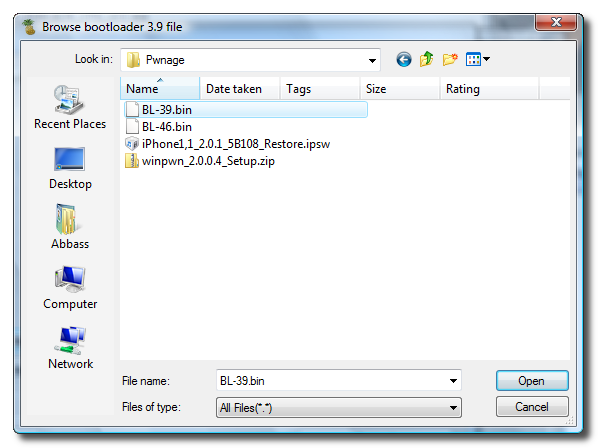
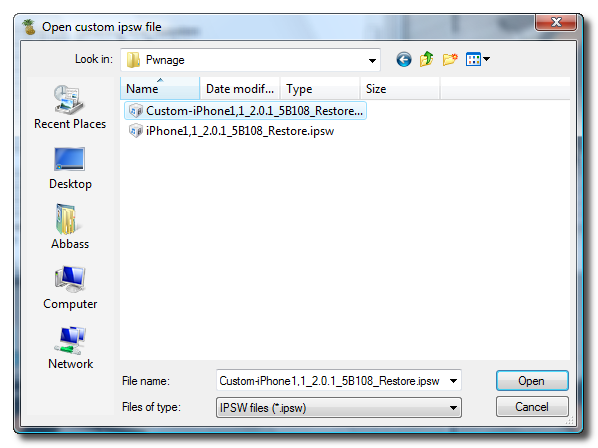
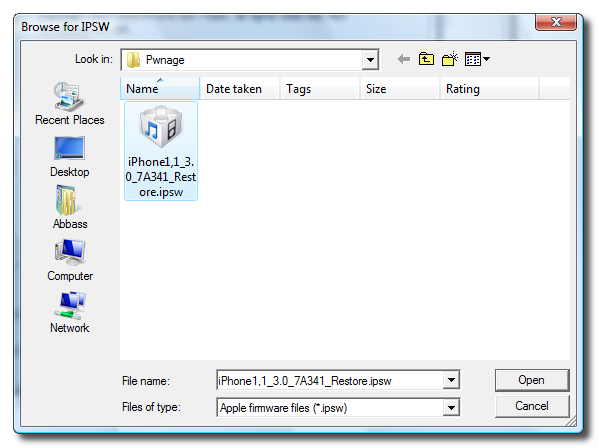
A window will appear in which you should choose the .ipsw file for the firmware you would like to unlock then click the Open button.

If you do not have the 2.0 Beta firmware .ipsw file I can't tell you where to get it but its around...
Step Five
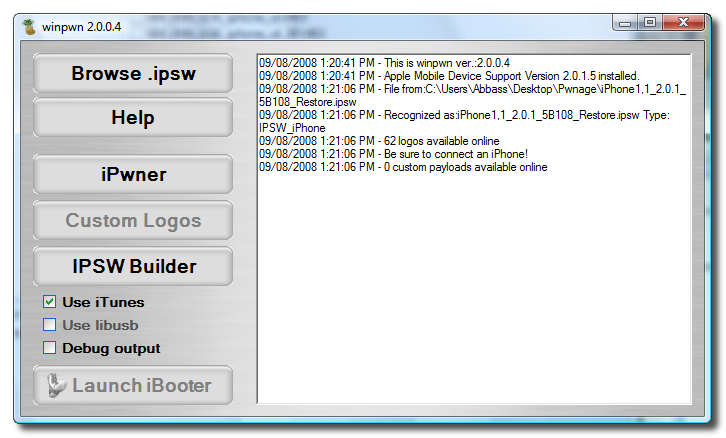
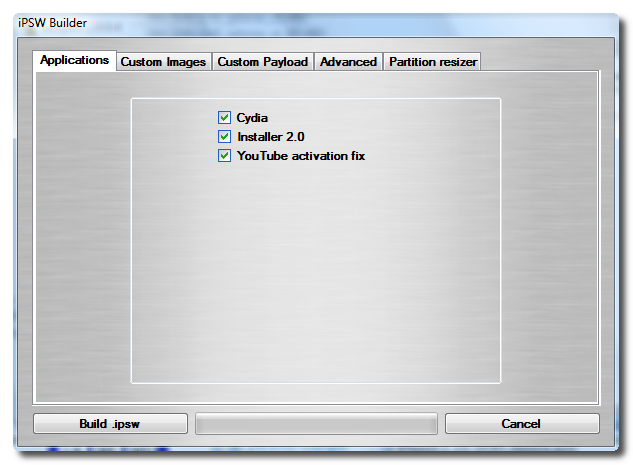
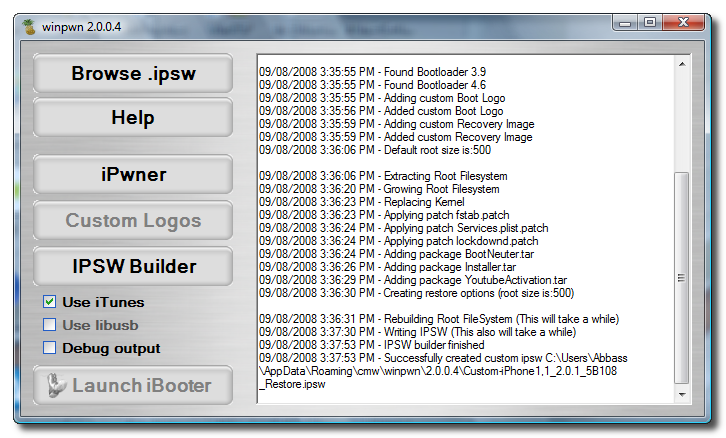
Click the IPSW Builder button in PwnageTool.

Step Six
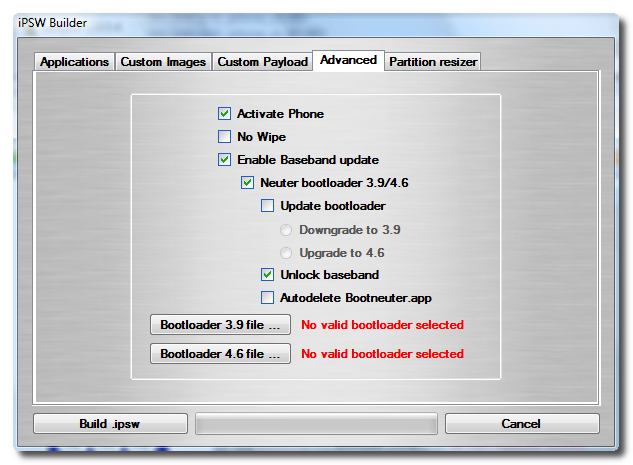
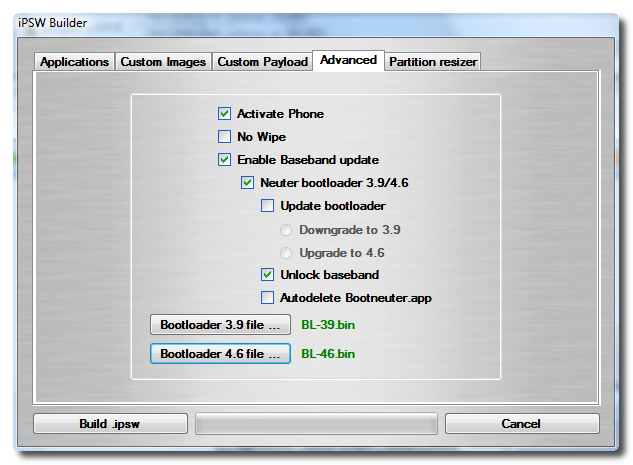
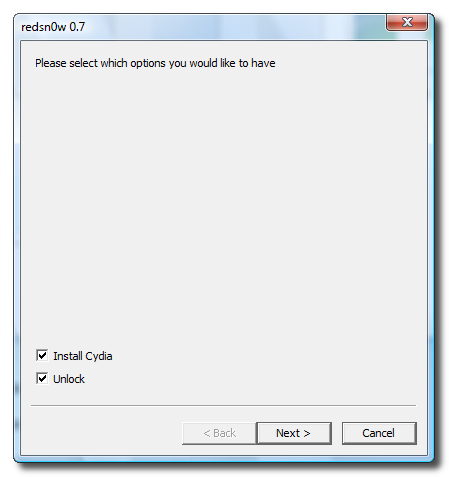
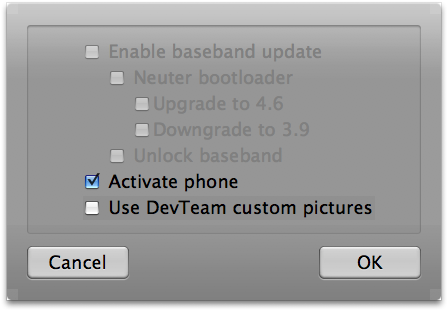
From the menu that appears select:
- Activate phone
Then click the OK button.

Step Seven
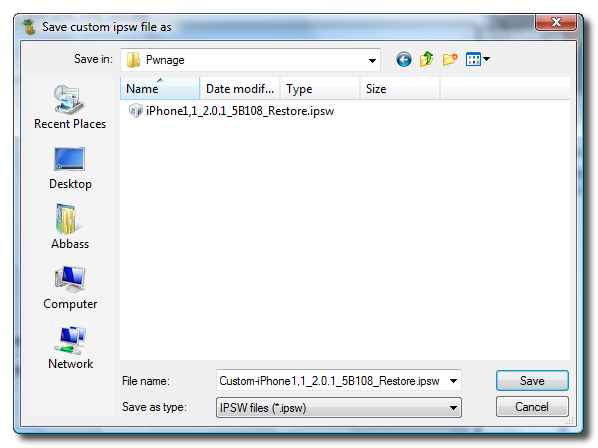
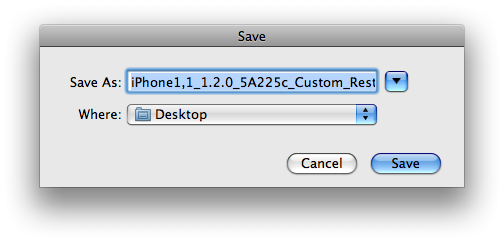
IPSW will ask you to select where to save the custom ipsw file. Click the Save button.

Step Eight
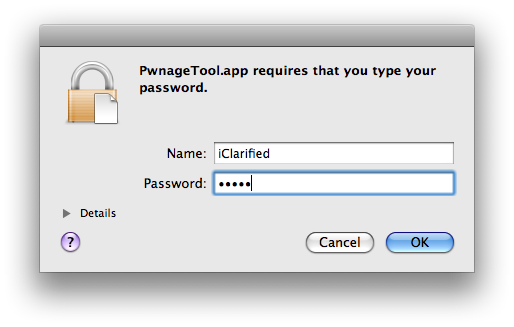
IPSW Builder will then ask you to login using your administrator username and password. Do this then click theOK button.

Step Nine
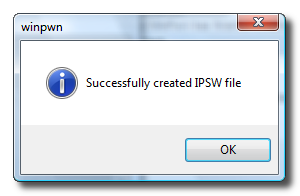
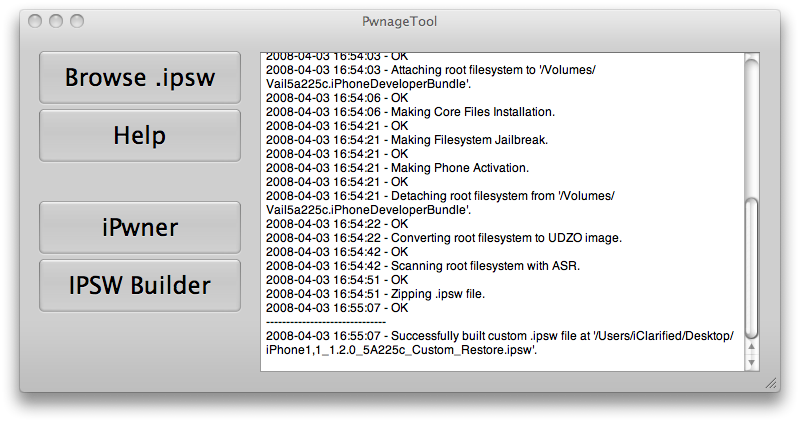
PwnageTool will then show you that IPSW Builder has completed successfully.

Step Ten
Launch iTunes using its icon in the dock if its not already open.

Step Eleven
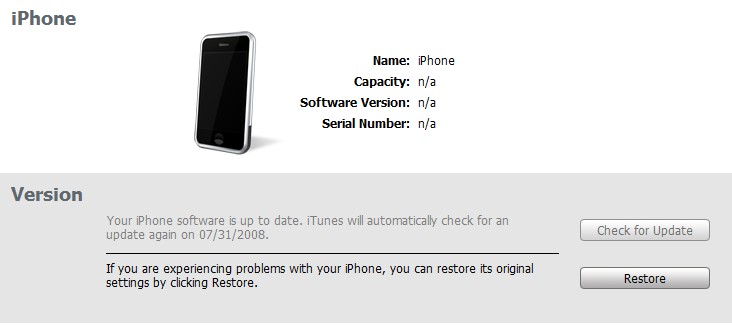
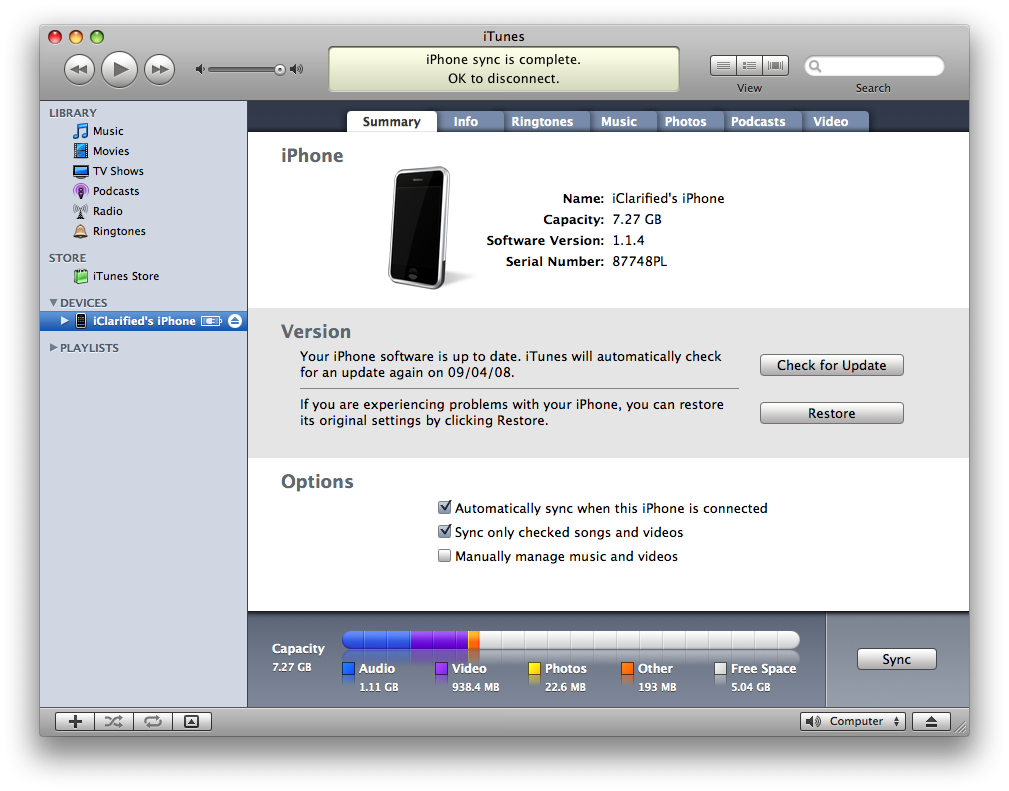
Select your iPhone from the list on the left. Hold down the Option and click the Restore button.

Step Twelve
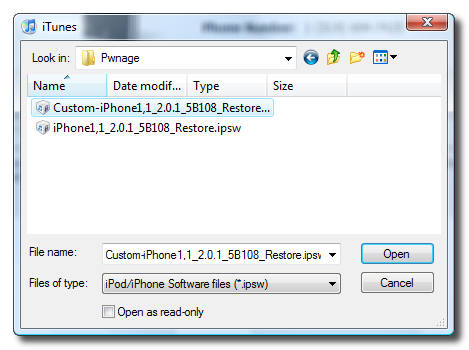
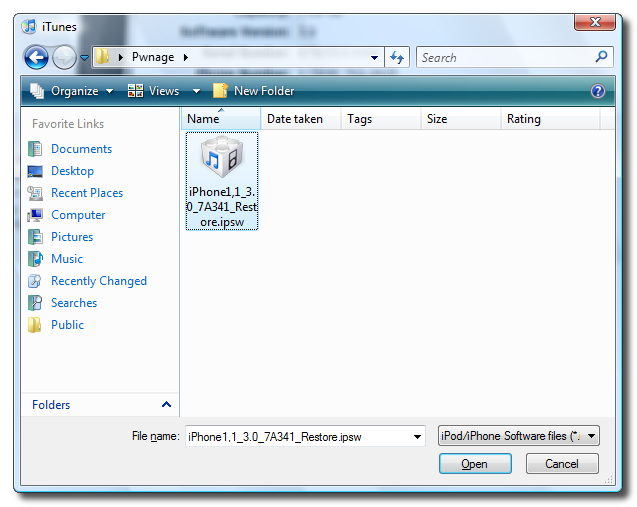
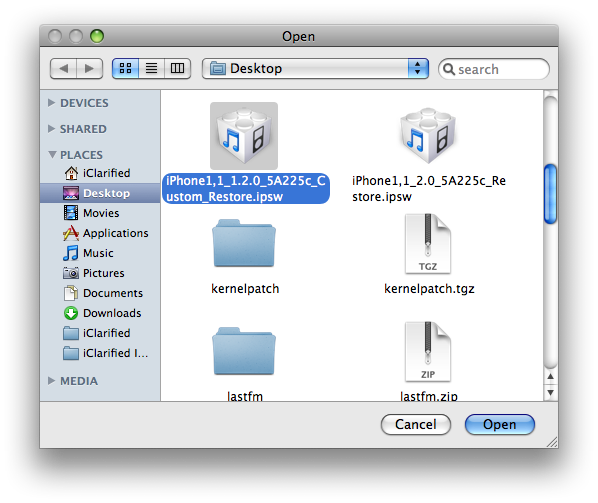
Select the custom firmware file (iPhone1,1_1.2.0_5A225c_Custom_Restore.ipsw) we just created and click the Open button.

Step Thirteen
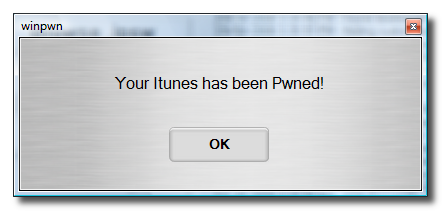
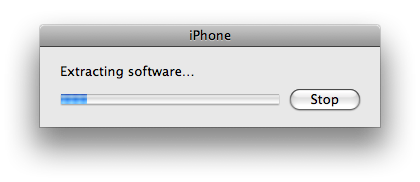
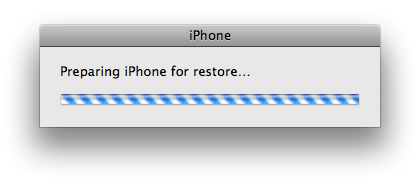
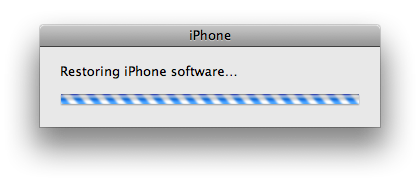
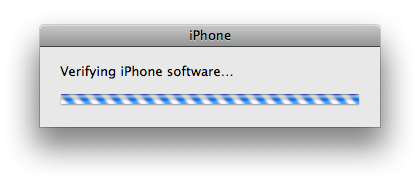
iTunes will then restore to our new custom firmware.


Step Fourteen
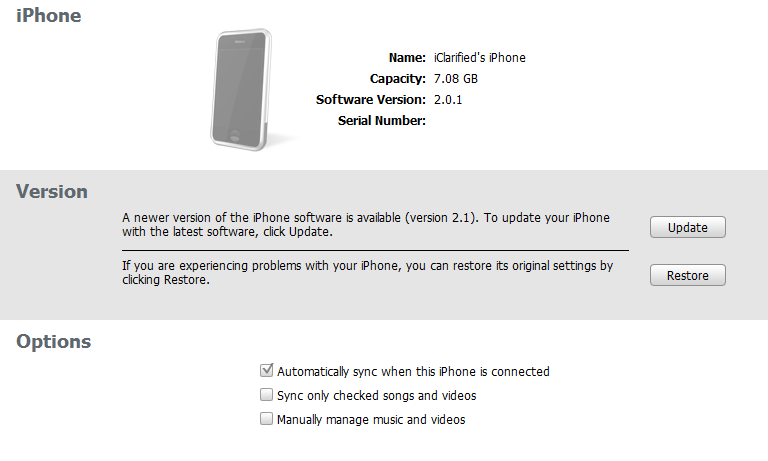
Once iTunes restore is complete your iPhone will reboot and you will be in the new 2.0 Beta firmware. I still have SSH capabilities; however, Installer.app is not yet available.
THANKS***: Make sure to thank asap18, bgm, Bugout, bushing, chris, dinopio, drudge, Fred_, ghost_000, gray, kroo, MuscleNerd, NerveGas, netkas, np101137, planetbeing, pr3d4t0r, pumpkin, pytey, roxfan, sam, Turbo, w___, wizdaz, Zf, Sam and others. These guys have put alot of hard work into making this a reality.
Read More
These are detailed instructions on how to unlock your iPhone 2.0 Beta Firmware using PwnageTool for Mac OS X.
Before you do this you must have access to the 2.0 Beta Firmware. Only do this if you have authorized access.
WARNING: There is no Installer.app for 2.0 Beta Firmware yet. You will not be able to install applications from Installer. SSH however has remained functional for me!
Step One
Follow the instructions to Pwn your iPhone using 1.1.4. These instructions can be found here
Make sure you install BSD Subsystem and OpenSSH from installer once you are done.
Step Two
Double click PwnageTool to launch the application again from your Desktop.

Step Three
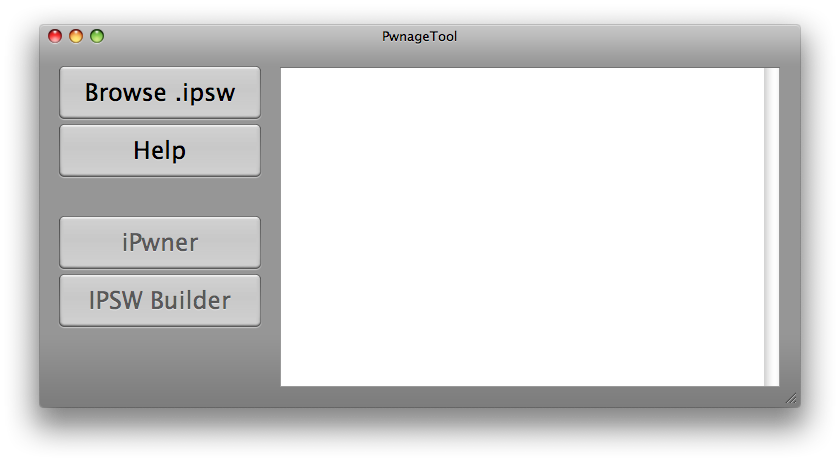
Click the Browse .ipsw button in PwnageTool.
Step Four
A window will appear in which you should choose the .ipsw file for the firmware you would like to unlock then click the Open button.
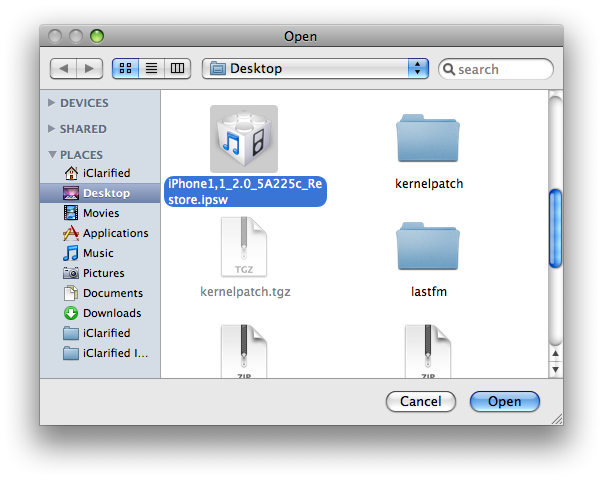
If you do not have the 2.0 Beta firmware .ipsw file I can't tell you where to get it but its around...
Step Five
Click the IPSW Builder button in PwnageTool.
Step Six
From the menu that appears select:
- Activate phone
Then click the OK button.
Step Seven
IPSW will ask you to select where to save the custom ipsw file. Click the Save button.
Step Eight
IPSW Builder will then ask you to login using your administrator username and password. Do this then click theOK button.
Step Nine
PwnageTool will then show you that IPSW Builder has completed successfully.
Step Ten
Launch iTunes using its icon in the dock if its not already open.

Step Eleven
Select your iPhone from the list on the left. Hold down the Option and click the Restore button.
Step Twelve
Select the custom firmware file (iPhone1,1_1.2.0_5A225c_Custom_Restore.ipsw) we just created and click the Open button.
Step Thirteen
iTunes will then restore to our new custom firmware.
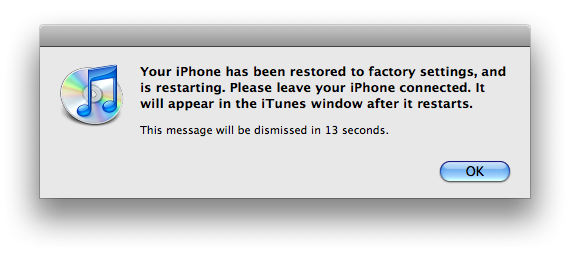
Step Fourteen
Once iTunes restore is complete your iPhone will reboot and you will be in the new 2.0 Beta firmware. I still have SSH capabilities; however, Installer.app is not yet available.
THANKS***: Make sure to thank asap18, bgm, Bugout, bushing, chris, dinopio, drudge, Fred_, ghost_000, gray, kroo, MuscleNerd, NerveGas, netkas, np101137, planetbeing, pr3d4t0r, pumpkin, pytey, roxfan, sam, Turbo, w___, wizdaz, Zf, Sam and others. These guys have put alot of hard work into making this a reality.