Source : Internet
These are instructions on how to downgrade the firmware of your iPad 2 or iPad 3 using RedSn0w for Mac.
In order to continue you will need to have SHSH Blobs saved for the lower firmware version you are downgrading to. You may haved used RedSn0w or TinyUmbrella to save your SHSH blobs. Also make sure you have performed a backup of your device using iTunes.
iPad 2 owners can follow this procedure to downgrade to iOS 5.0.1 for jailbreak.
Step One
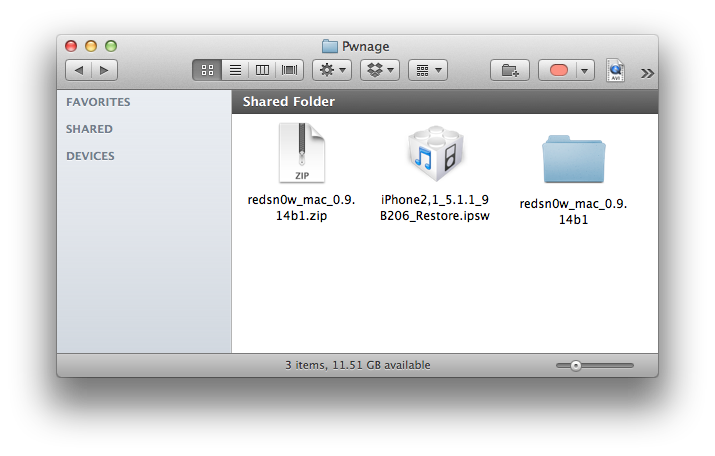
Create a folder called Pwnage on your desktop and download the following items into the folder.
- The latest version of RedSn0w
- The current iOS firmware (ie. iOS 5.1.1)
- The older firmware you want to downgrade to (ie. iOS 5.0.1 or iOS 5.1)
Double click the RedSn0w archive to extract it.

Step Two
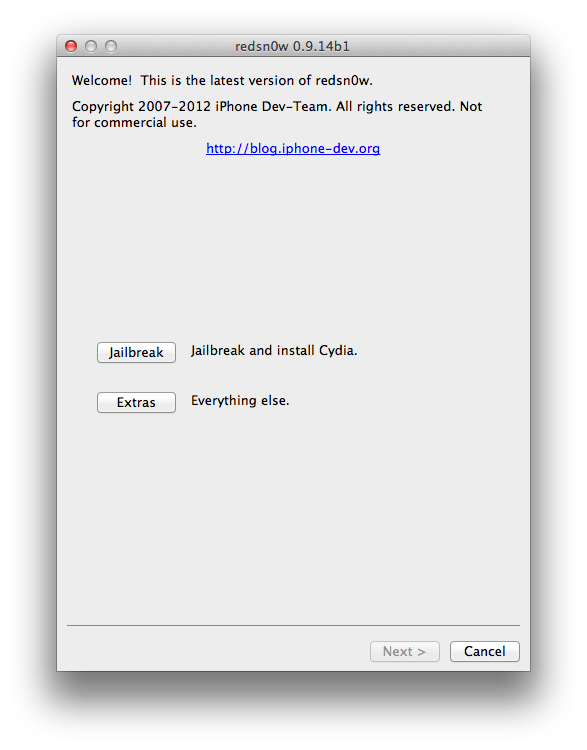
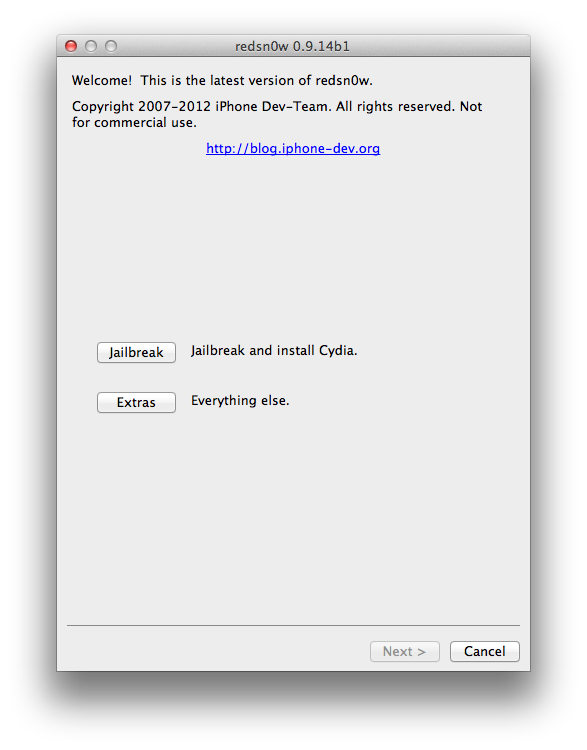
Launch the RedSn0w application from the extracted RedSn0w folder.

Step Three
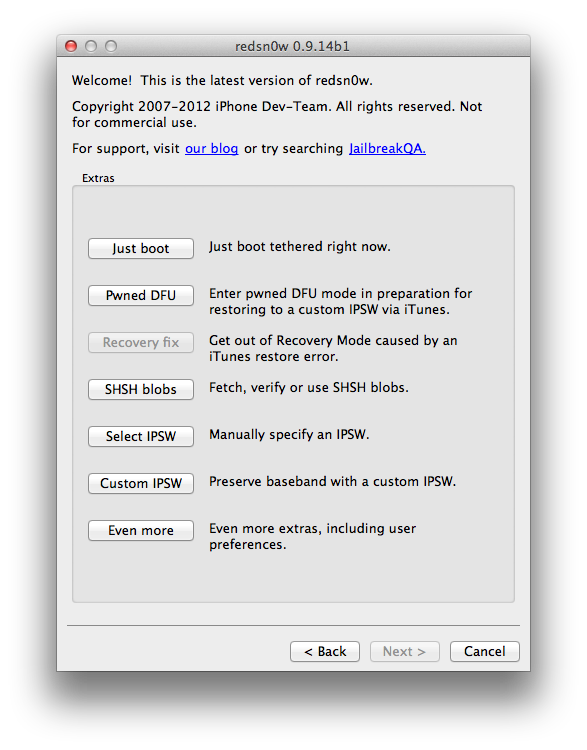
Select Extras from the main menu.

Step Four
Choose Even More from the extras menu.

Step Five
Select Restore from the even more menu.

Step Six
Click the IPSW button.

Step Seven
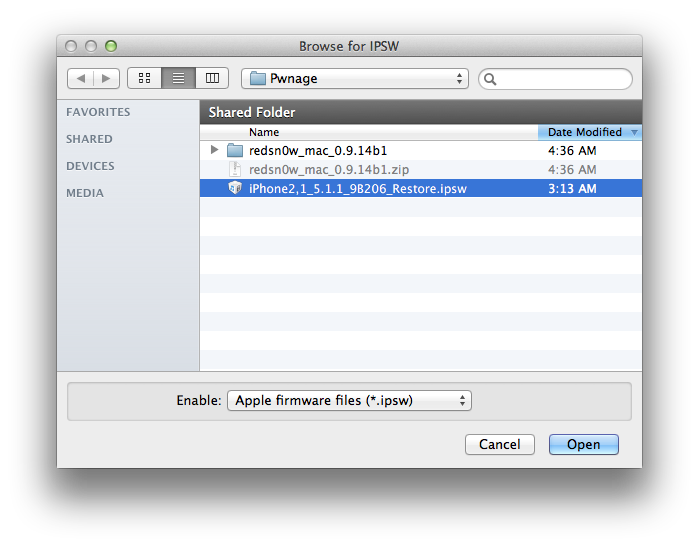
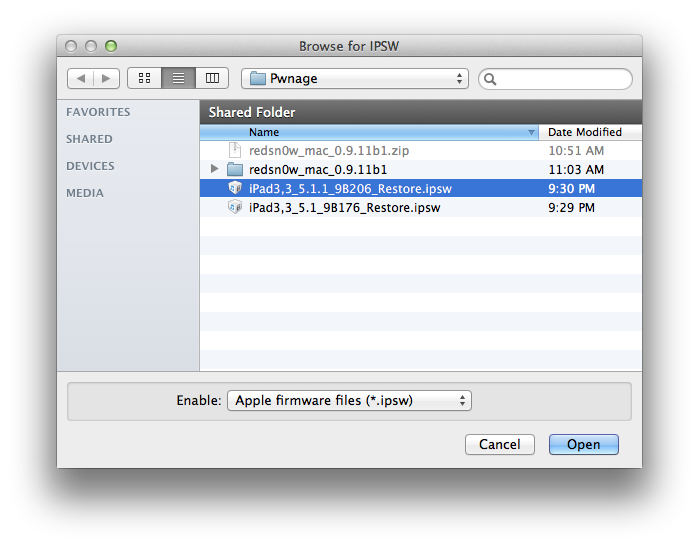
Navigate to the Pwnage folder on your desktop and choose the firmware ipsw you would like to restore to and click Open.

Step Eight
You will be informed that an additional IPSW is required. Make note of the ipsw file requested and click the OKbutton.

Step Nine
Select the additional ipsw specified in the previous step and click the Open button. (This will likely be the most current firmware ipsw).

Step Ten
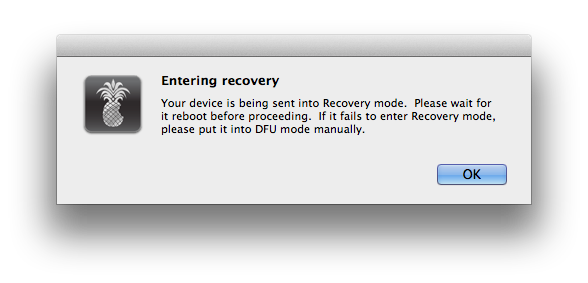
You will now be informed that your device will be placed into recovery mode. Click the OK button.

Step Eleven
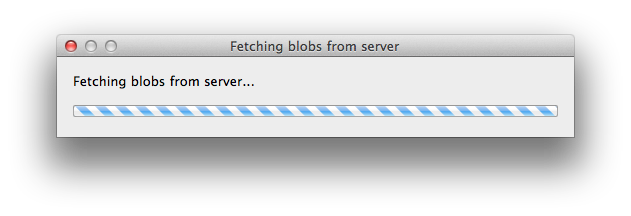
You must now select your blobs for restore. You can choose to specify local blobs or remote blobs.
REMOTE BLOBS
- Choose this option if you previously saved your blobs with RedSn0w and they were stored on the Cydia server. This is the easiest option if it's available to you.
LOCAL BLOBS
- Choose this option if you previously saved your blobs with TinyUmbrella or you used RedSn0w but did not let Cydia save a copy of your blobs.
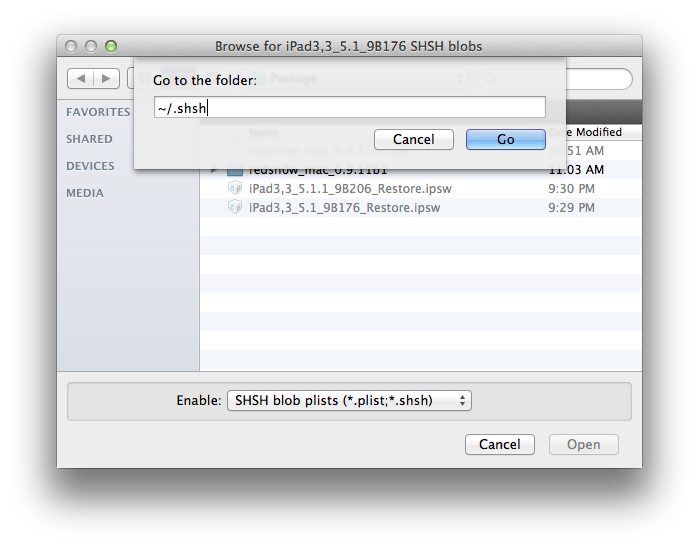
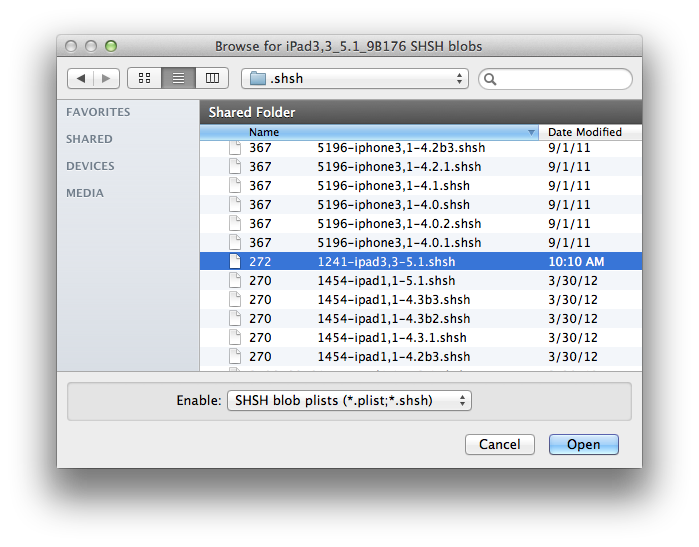
- After clicking Local you will be prompted to select your saved blob file for the firmware you are downgrading to. If you used TinyUmbrella, simply press COMMAND+SHIFT+G, input ~/.shsh, and click Go to navigate to the folder with your saved SHSH blobs. Select the file that matches the ECID displayed in RedSn0w and the firmware version you are downgrading to, then click Open.


Step Twelve
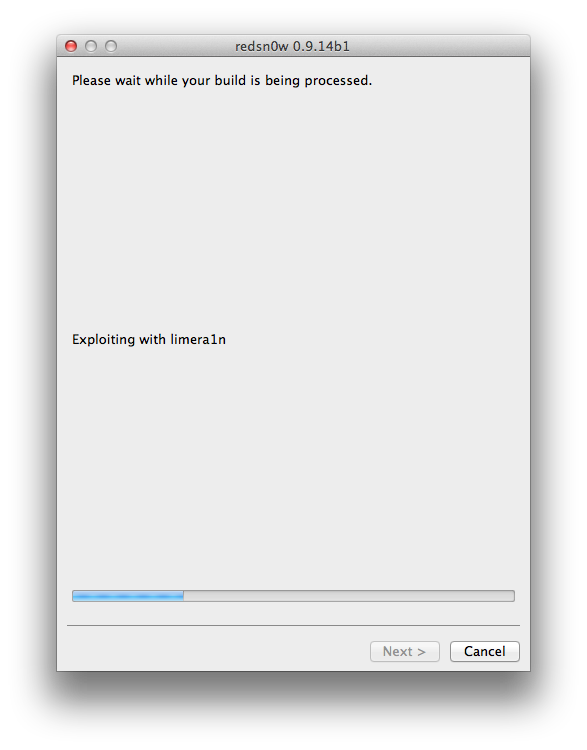
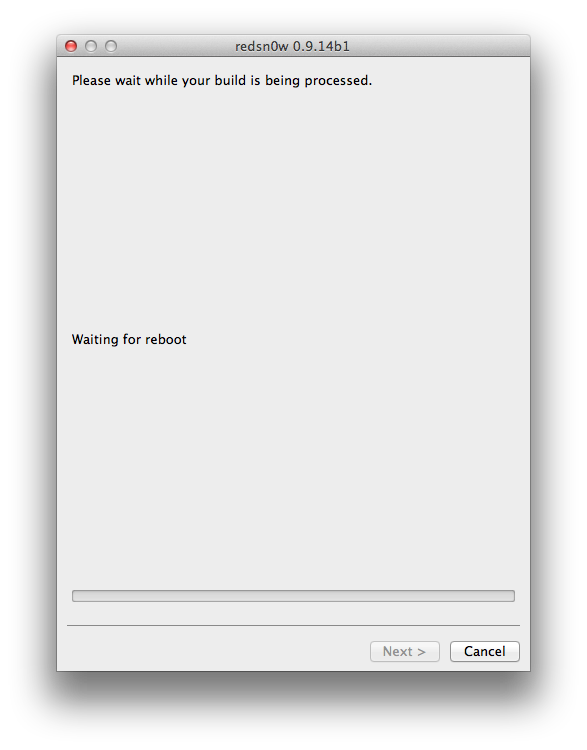
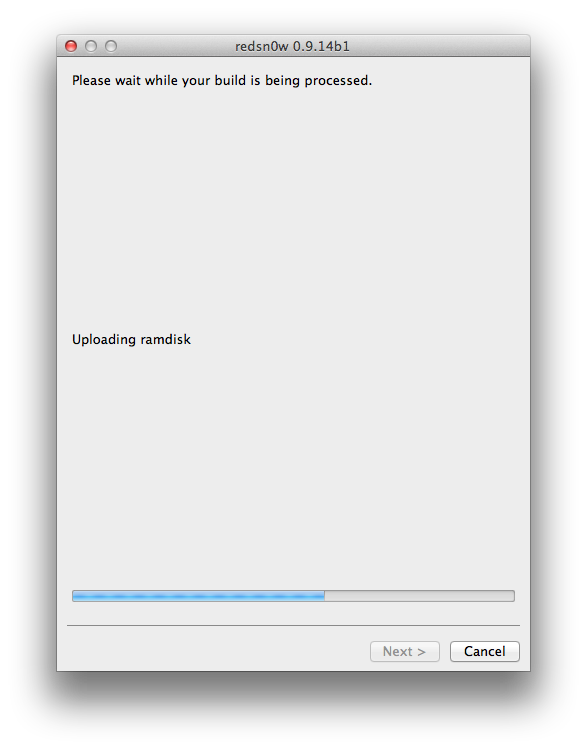
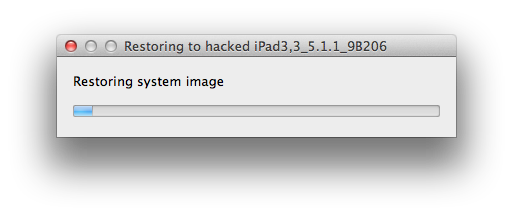
RedSn0w will now stitch your blobs to the firmware ipsw and automatically begin a restore to the modified firmware.


Step Thirteen
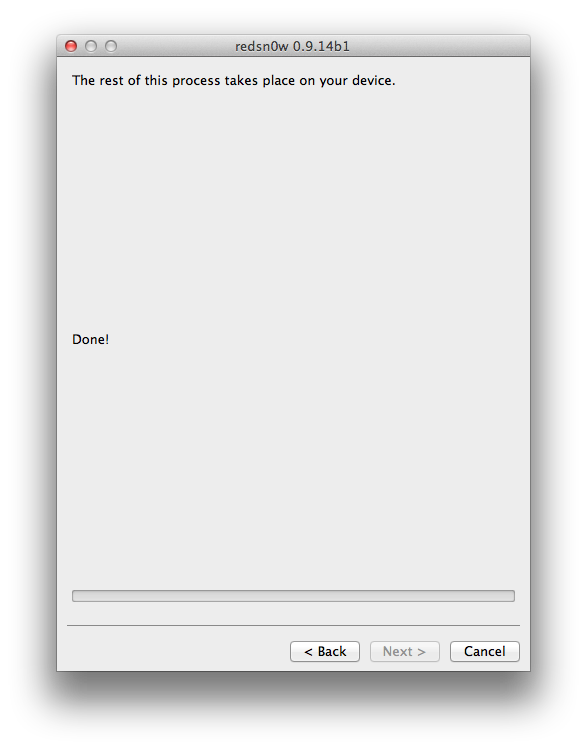
You will be informed that your restore has been successful! If you were downgrading to jailbreak you can find jailbreak instructions here.
Read More
These are instructions on how to downgrade the firmware of your iPad 2 or iPad 3 using RedSn0w for Mac.
In order to continue you will need to have SHSH Blobs saved for the lower firmware version you are downgrading to. You may haved used RedSn0w or TinyUmbrella to save your SHSH blobs. Also make sure you have performed a backup of your device using iTunes.
iPad 2 owners can follow this procedure to downgrade to iOS 5.0.1 for jailbreak.
Step One
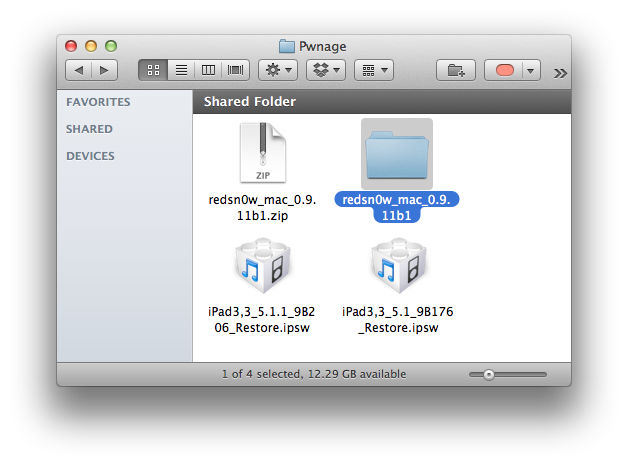
Create a folder called Pwnage on your desktop and download the following items into the folder.
- The latest version of RedSn0w
- The current iOS firmware (ie. iOS 5.1.1)
- The older firmware you want to downgrade to (ie. iOS 5.0.1 or iOS 5.1)
Double click the RedSn0w archive to extract it.
Step Two
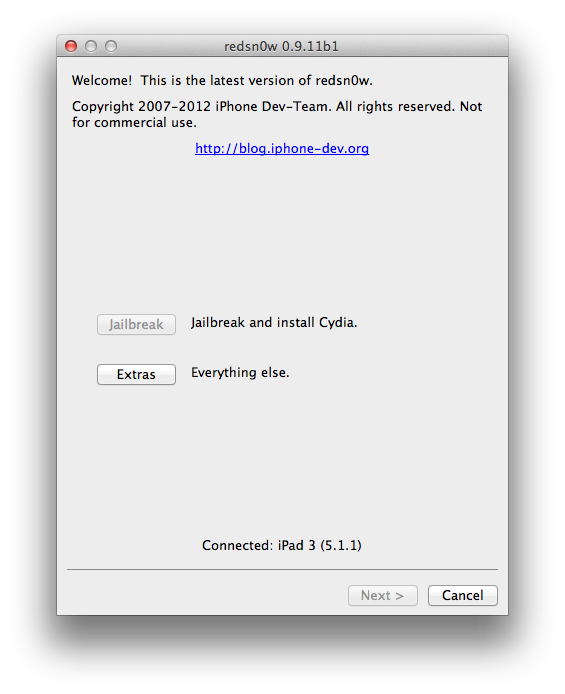
Launch the RedSn0w application from the extracted RedSn0w folder.

Step Three
Select Extras from the main menu.
Step Four
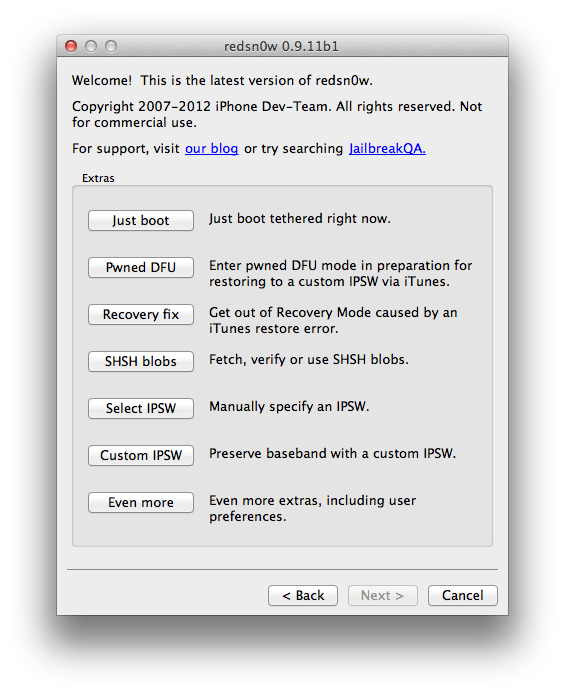
Choose Even More from the extras menu.
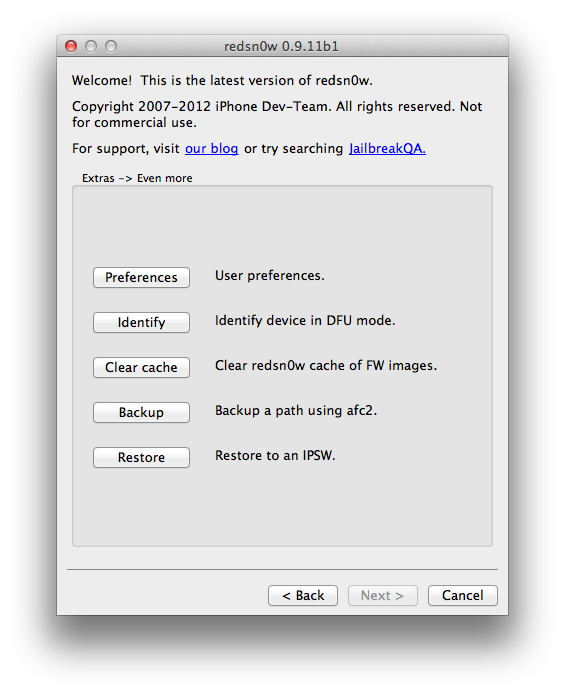
Step Five
Select Restore from the even more menu.
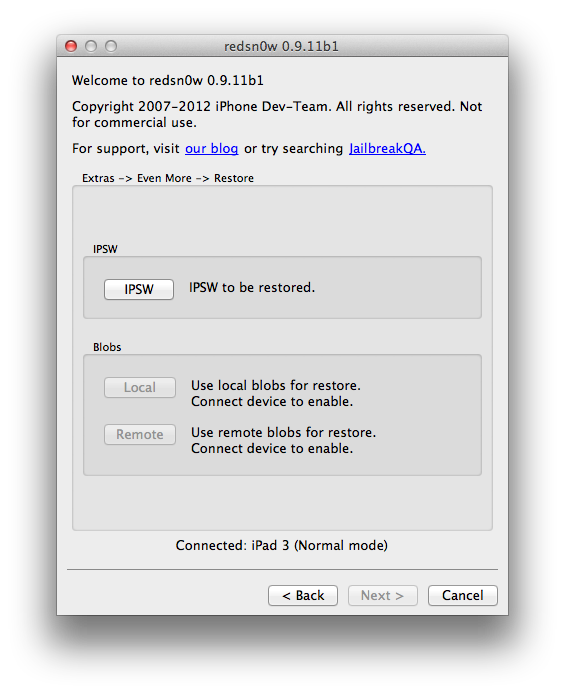
Step Six
Click the IPSW button.
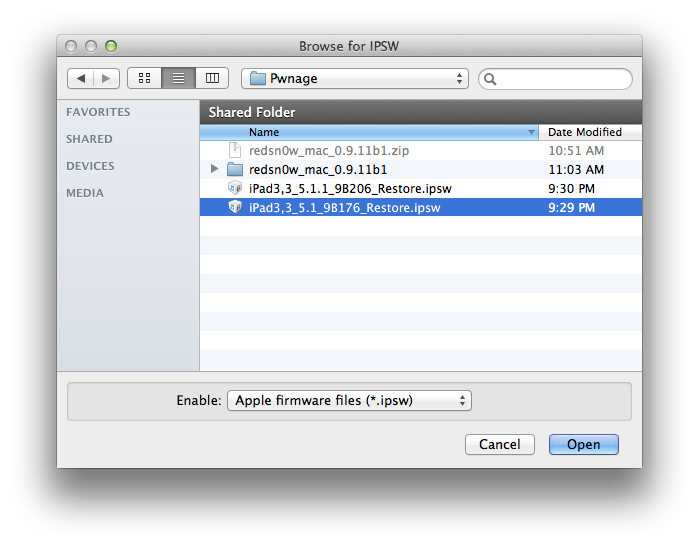
Step Seven
Navigate to the Pwnage folder on your desktop and choose the firmware ipsw you would like to restore to and click Open.
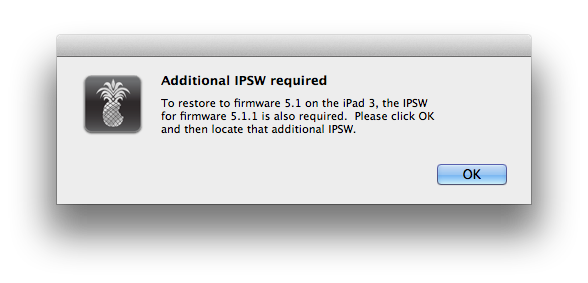
Step Eight
You will be informed that an additional IPSW is required. Make note of the ipsw file requested and click the OKbutton.
Step Nine
Select the additional ipsw specified in the previous step and click the Open button. (This will likely be the most current firmware ipsw).
Step Ten
You will now be informed that your device will be placed into recovery mode. Click the OK button.
Step Eleven
You must now select your blobs for restore. You can choose to specify local blobs or remote blobs.
REMOTE BLOBS
- Choose this option if you previously saved your blobs with RedSn0w and they were stored on the Cydia server. This is the easiest option if it's available to you.
LOCAL BLOBS
- Choose this option if you previously saved your blobs with TinyUmbrella or you used RedSn0w but did not let Cydia save a copy of your blobs.
- After clicking Local you will be prompted to select your saved blob file for the firmware you are downgrading to. If you used TinyUmbrella, simply press COMMAND+SHIFT+G, input ~/.shsh, and click Go to navigate to the folder with your saved SHSH blobs. Select the file that matches the ECID displayed in RedSn0w and the firmware version you are downgrading to, then click Open.
Step Twelve
RedSn0w will now stitch your blobs to the firmware ipsw and automatically begin a restore to the modified firmware.
Step Thirteen
You will be informed that your restore has been successful! If you were downgrading to jailbreak you can find jailbreak instructions here.